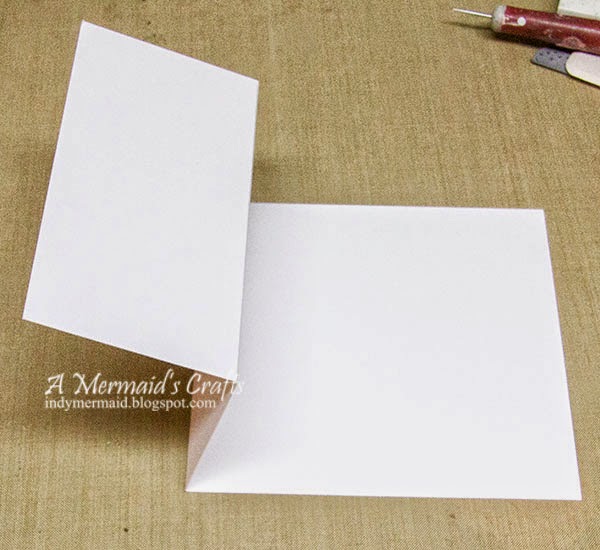
Happy Wednesday!! I hope you are having a wonderful last week in April!! It's my turn to post on the Die-Versions blog and I have a easel card gift box to share with you today. For the tutorial on how to put them
together, click HERE.

The papers are from Prima. I used a Whispers Lacey Dots die along the sides of the box and for the easel stop. Congratulations is a Compliments Everyday die, and it was cut twice for a shadow effect. The heart above it is a Wee Petites Heart Doodle die.

A Whispers Heart Burst die was used in the background. The middle heart was cut from red paper and popped up with foam tape. The couple is a Whispers The Proposal die. It as also cut twice for a shadow effect and popped up with foam tape. A Whispers Daisy Flair die was cut in vellum and tucked among the Wild Orchid Crafts blooms.

I am entering this in the following challenges:
1. Simon Says Stamp Wednesday Challenge - Anything Goes
2. Decorate to Celebrate - Anything Goes
3. DL.Art - April Linky
4. Little Scrap Pieces - Show it off Saturday
I hope you will stop back by on May 3rd to help celebrate Jo's Scrap Shack's 3rd Blogaversary Blog Hop!! There will be lots of inspiration and a fun birthday giveaway, too!!

And then come back on May 5th for the Die-Versions Mother's Day Blog Hop and Card Challenge!! You could win a Die-Versions gift certificate!!

Thanks so much for stopping by!! Have a great day!!
The papers are from Prima. I used a Whispers Lacey Dots die along the sides of the box and for the easel stop. Congratulations is a Compliments Everyday die, and it was cut twice for a shadow effect. The heart above it is a Wee Petites Heart Doodle die.
A Whispers Heart Burst die was used in the background. The middle heart was cut from red paper and popped up with foam tape. The couple is a Whispers The Proposal die. It as also cut twice for a shadow effect and popped up with foam tape. A Whispers Daisy Flair die was cut in vellum and tucked among the Wild Orchid Crafts blooms.
I am entering this in the following challenges:
1. Simon Says Stamp Wednesday Challenge - Anything Goes
2. Decorate to Celebrate - Anything Goes
3. DL.Art - April Linky
4. Little Scrap Pieces - Show it off Saturday
I hope you will stop back by on May 3rd to help celebrate Jo's Scrap Shack's 3rd Blogaversary Blog Hop!! There will be lots of inspiration and a fun birthday giveaway, too!!

And then come back on May 5th for the Die-Versions Mother's Day Blog Hop and Card Challenge!! You could win a Die-Versions gift certificate!!
Thanks so much for stopping by!! Have a great day!!